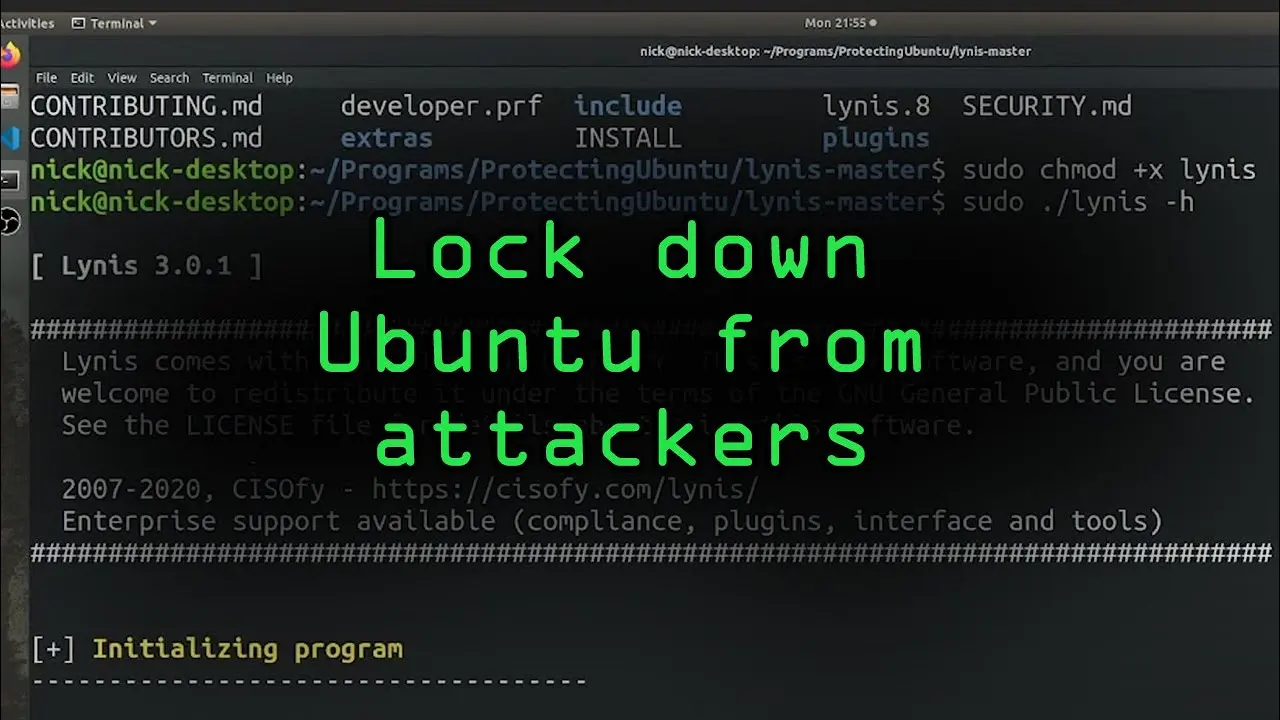
In today’s digital landscape, securing your Ubuntu server is more critical than ever. With cyber threats evolving daily, an unprotected server is a goldmine for hackers looking to exploit vulnerabilities. Whether you’re running a personal project, a business website, or a development environment, knowing how to secure your Ubuntu server against hackers can save you from data breaches, downtime, and costly repairs. In this guide, you’ll learn actionable steps to harden your Ubuntu server, protect it from cyber attacks, and ensure it stays safe in 2025 and beyond. From setting up firewalls to managing user permissions, we’ve got you covered with expert Ubuntu server security tips.
Why Ubuntu Server Security Matters
Ubuntu is a popular choice for servers due to its stability, open-source nature, and robust community support. However, its widespread use also makes it a prime target for hackers. Without proper Ubuntu server hardening, your system could fall victim to brute-force attacks, malware, or unauthorized access. By implementing the right security measures, you can minimize risks and keep your server running smoothly.
Step 1: Keep Your Ubuntu Server Updated
The first and easiest way to secure your Ubuntu server is to keep it updated. Software updates patch vulnerabilities that hackers could exploit. To check for updates, log in via SSH and run:
sudo apt update
sudo apt upgrade -y
This command fetches the latest package lists and upgrades installed software. Set up automatic updates for critical security patches by installing the unattended-upgrades package:
sudo apt install unattended-upgradesThen, enable it with:
sudo dpkg-reconfigure --priority=low unattended-upgradesRegular updates are a cornerstone of Linux server security best practices.
Step 2: Configure a Firewall with UFW
A firewall is your server’s first line of defense. Ubuntu comes with Uncomplicated Firewall (UFW), a user-friendly tool to manage iptables. To protect your Ubuntu server from hackers, enable UFW and allow only necessary ports. Start by installing it (if not already present):
sudo apt install ufwAllow SSH (port 22) to maintain remote access:
sudo ufw allow 22If you’re running a web server, allow HTTP (port 80) and HTTPS (port 443):
sudo ufw allow 80
sudo ufw allow 443
Enable the firewall:
sudo ufw enableCheck the status with:
sudo ufw statusUFW blocks all other incoming traffic by default, significantly boosting your Ubuntu server security.
Step 3: Secure SSH Access
SSH is a common entry point for hackers. To secure your Ubuntu server against cyber attacks, harden SSH by changing the default port, disabling root login, and using key-based authentication. Edit the SSH configuration file:
sudo nano /etc/ssh/sshd_configChange the default port (e.g., from 22 to 2222):
Port 2222Disable root login:
PermitRootLogin noSave and restart SSH:
sudo systemctl restart sshdFor added security, set up SSH keys instead of passwords. Generate a key pair on your local machine:
ssh-keygen -t rsa -b 4096Copy the public key to your server:
ssh-copy-id user@your-server-ip -p 2222Then disable password authentication in /etc/ssh/sshd_config:
PasswordAuthentication noRestart SSH again. This makes brute-force attacks much harder.
Step 4: Harden User Permissions
Unrestricted user access is a security risk. Create a non-root user for daily tasks instead of using the root account. Add a new user:
sudo adduser usernameGrant sudo privileges if needed:
sudo usermod -aG sudo usernameRegularly audit user accounts with:
cat /etc/passwdRemove unused accounts to prevent hacking on your Ubuntu server.
Step 5: Install and Configure Fail2Ban
Fail2Ban protects against brute-force attacks by banning IPs after repeated failed login attempts. Install it:
sudo apt install fail2banCopy the default configuration file:
sudo cp /etc/fail2ban/jail.conf /etc/fail2ban/jail.localEdit jail.local to enable SSH protection:
sudo nano /etc/fail2ban/jail.localUpdate the [sshd] section:
[sshd]
enabled = true
port = 2222
maxretry = 5
bantime = 3600
Restart Fail2Ban:
sudo systemctl restart fail2banThis step enhances your Ubuntu server hardening efforts.
Step 6: Enable Automatic Security Audits with Lynis
Lynis is an open-source security auditing tool for Linux. Install it:
sudo apt install lynisRun a system scan:
sudo lynis audit systemReview the report and address any flagged vulnerabilities. Regular audits keep your server secure.
Step 7: Protect Against Malware
While Linux is less prone to malware, it’s not immune. Install ClamAV to scan for threats:
sudo apt install clamavUpdate the virus database:
sudo freshclamScan your server:
sudo clamscan -r / --bell -iSchedule regular scans with a cron job for ongoing protection.
Step 8: Back Up Your Server Regularly
Backups won’t prevent attacks, but they ensure you can recover quickly. Use rsync to back up files to a remote location:
rsync -avz --progress /path/to/files user@remote-server:/backup/locationAutomate backups with cron to maintain consistent Ubuntu server security.
Conclusion: Stay Proactive with Ubuntu Server Security
Securing your Ubuntu server against hackers requires a proactive approach. By keeping your system updated, configuring firewalls, hardening SSH, and using tools like Fail2Ban and Lynis, you can significantly reduce risks. These Ubuntu server security tips for 2025 provide a solid foundation for protecting your server from cyber threats. Stay vigilant, monitor logs, and test your defenses regularly to ensure long-term safety.
For more tutorials on server management and coding, check out our Ubuntu Tutorials Category.


